DIY Home Décor Letters
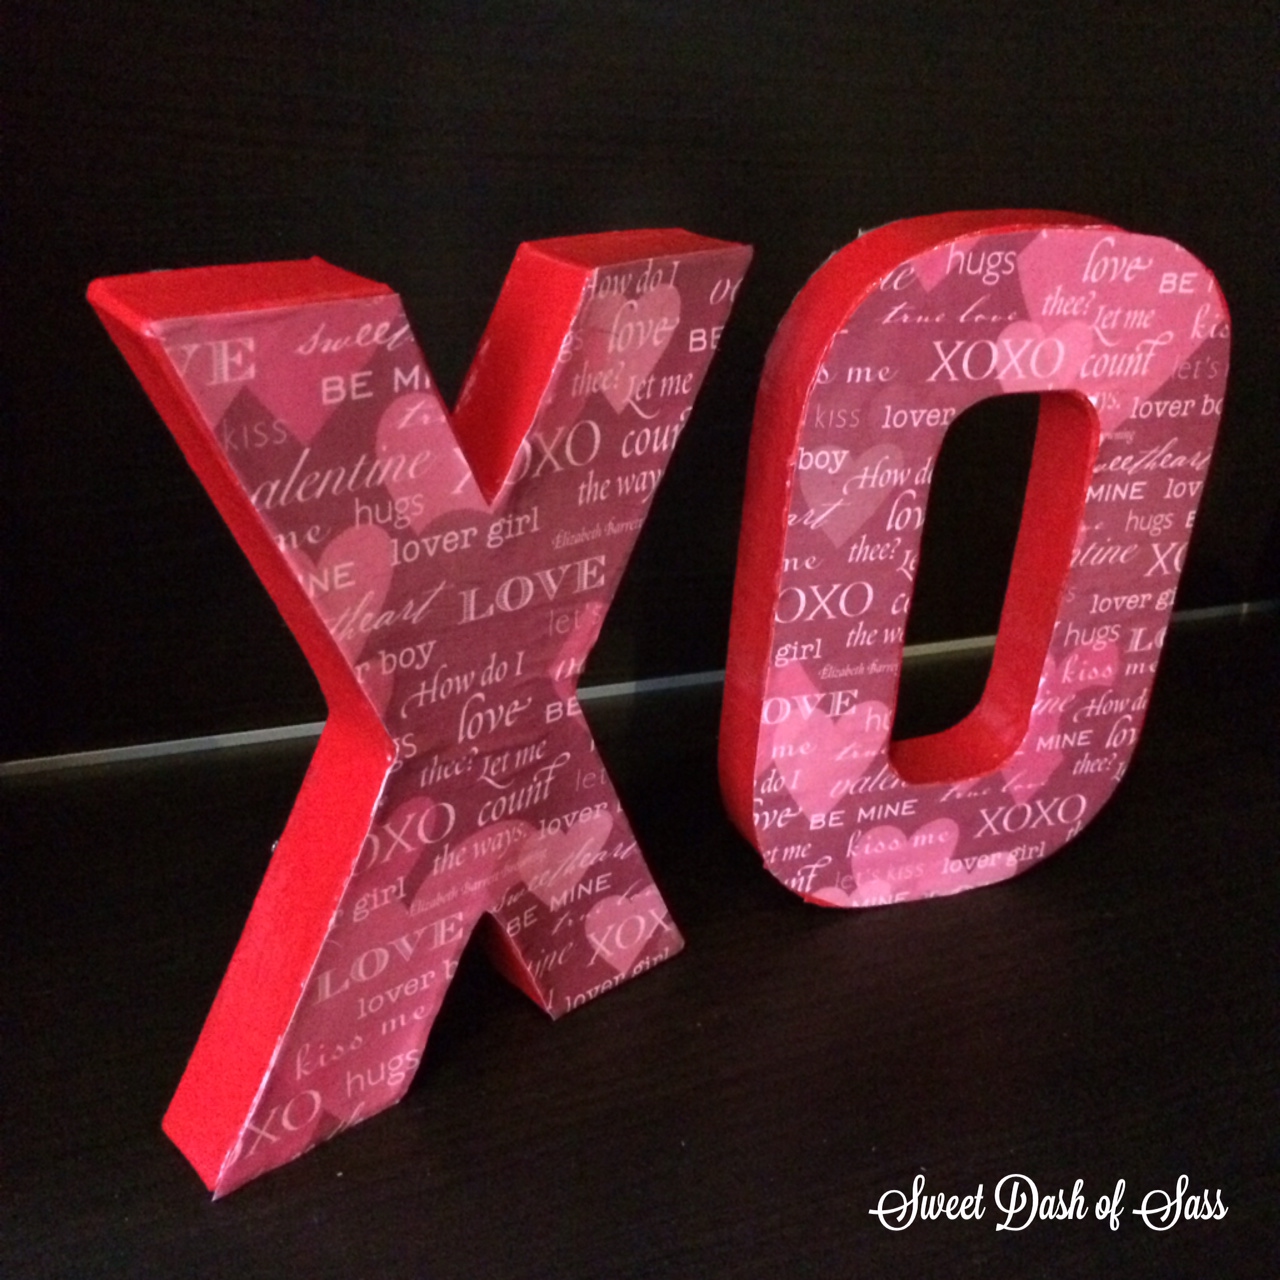
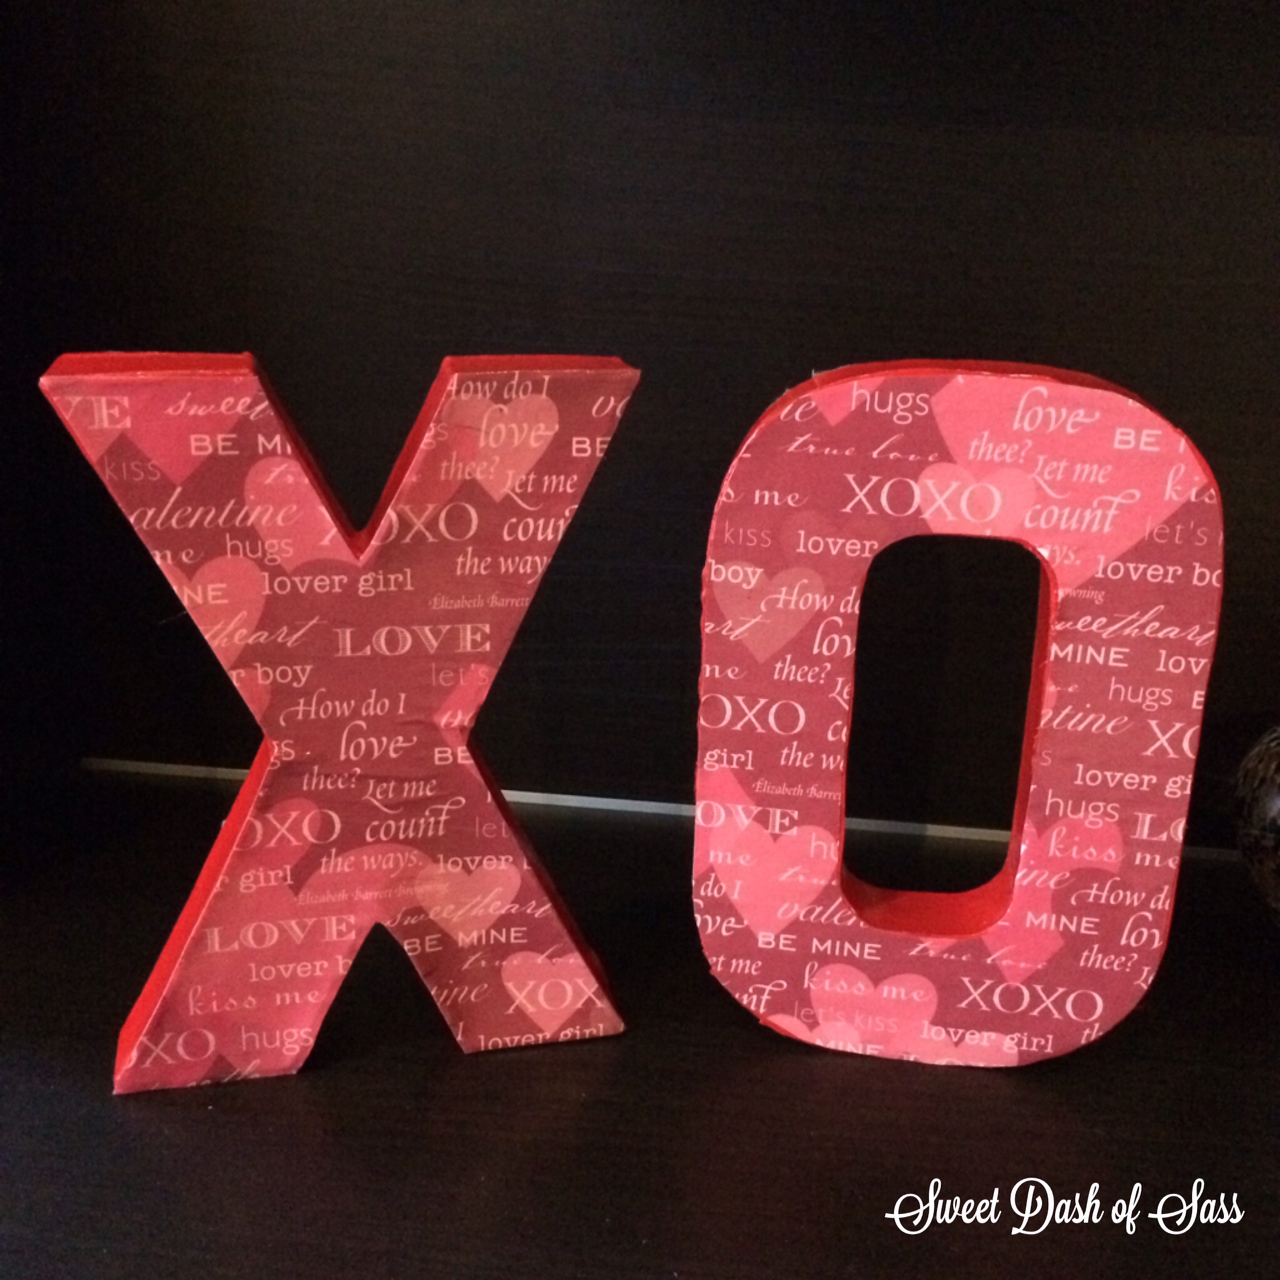
I was looking for another fun craft project to do for the holidays. Looking thru some ideas on Pinterest, I thought I would attempt my own decorative letters for a given holiday. It was VERY Easy-To-Do and much cheaper than the pre-made ones at the store!
Plus, I had never worked with Mod-Podge before and see some many craft projects using it. Thought this would be the perfect time to try it out. I’m a huge fan of it now and can’t wait to use it on some other projects!
What you will need?
I found all my items at Jo-Ann Fabrics. The prices that I have listed in BOLD below were the full retail prices. I happened to use coupons on all my items to save quite a bit.
Thanks to my Aunt for this tip — Don’t have a coupon? Download the Jo-Ann Fabrics App and they offer several coupons on there. Just show the coupons from your smartphone device and the cashier will scan and you get the discount!
Note: I purchased all my items at Jo-Ann Fabrics. I am listing the full retail prices, but I happened to use coupons on all my items to save quite a bit!
-
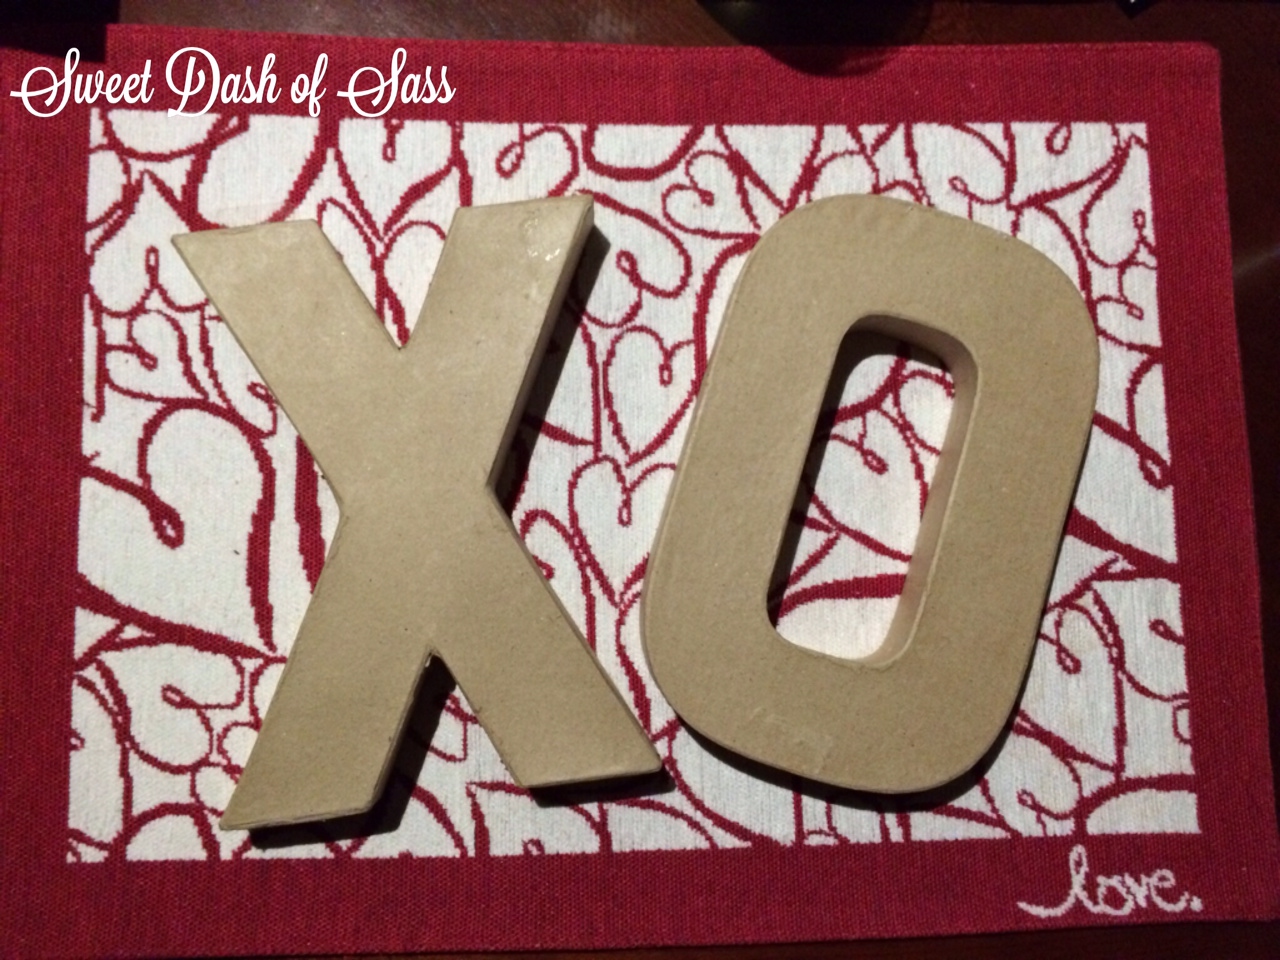
Paper Mache Letters – $3.49 (They were on sale for $2 for me!)
-
Scrapbook Paper – 59 cents for one sheet (I bought mine on sale 5 sheets for $1, I only used 1 sheet.)
-
Mod Podge – $6.99 for 8 oz jar (I used 50% off coupon – plus you will have tons left for future projects!)
-
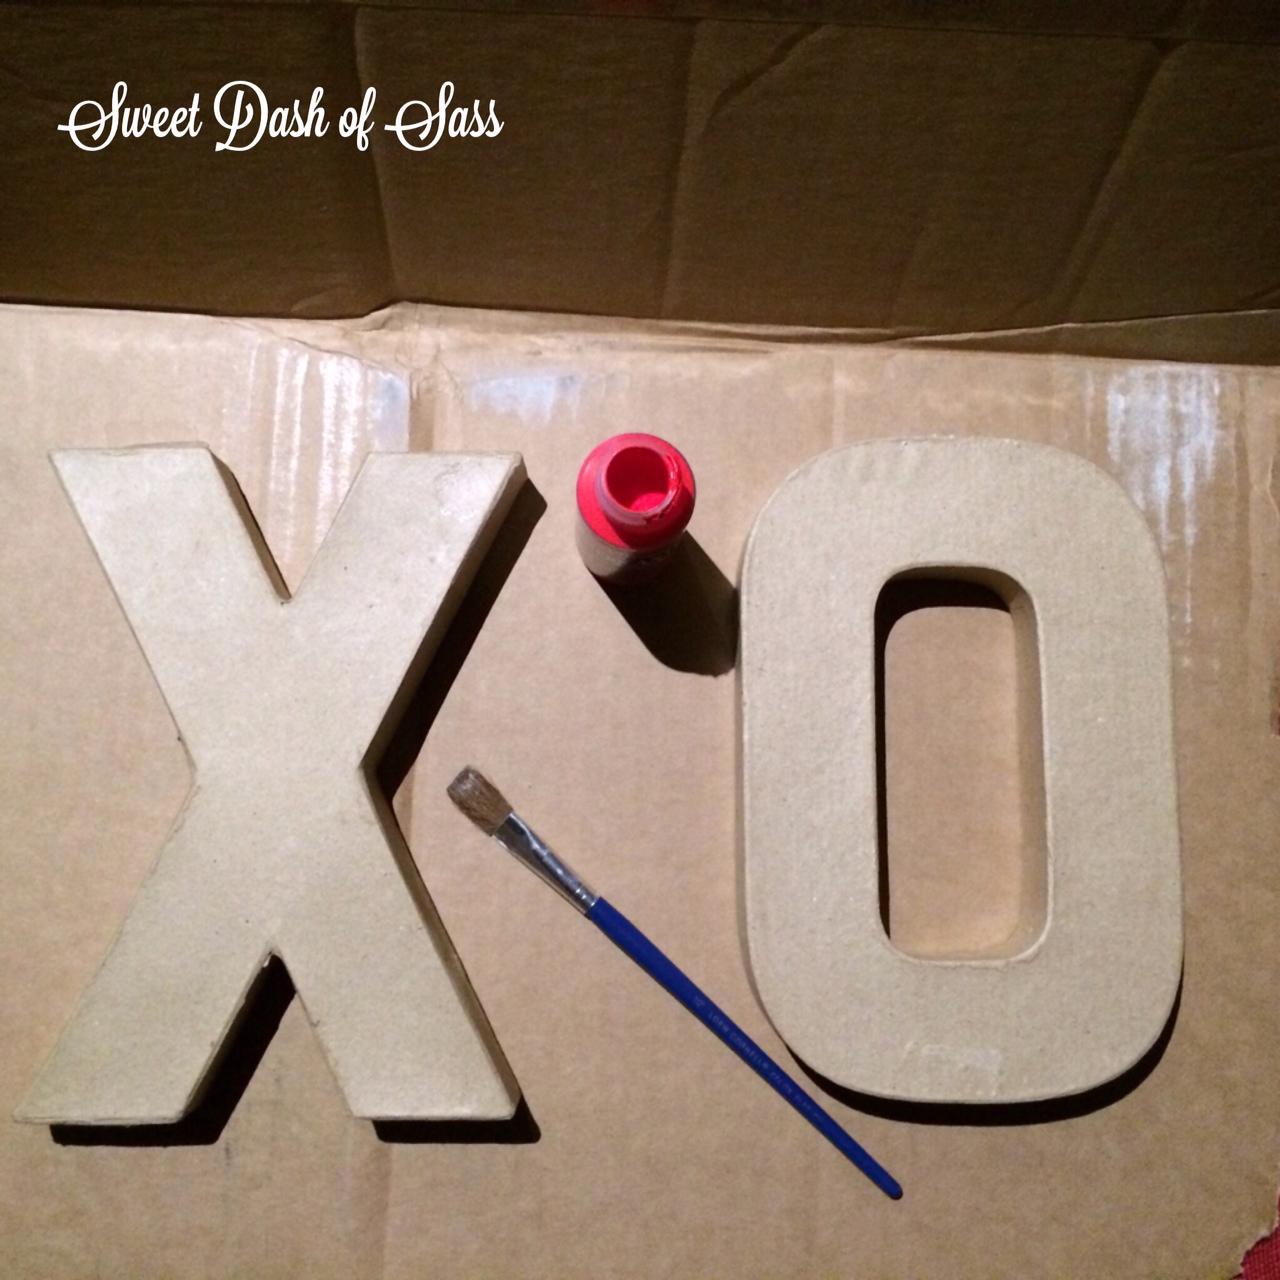
Paint Brush – $1.99 for 3 pack variety (I didn’t have any laying around the house.)
-
Acrylic Paint – $1.49 (I used only a half of container and used color Red for this particular project.)
-
Scissors
- Sand Paper
Directions:
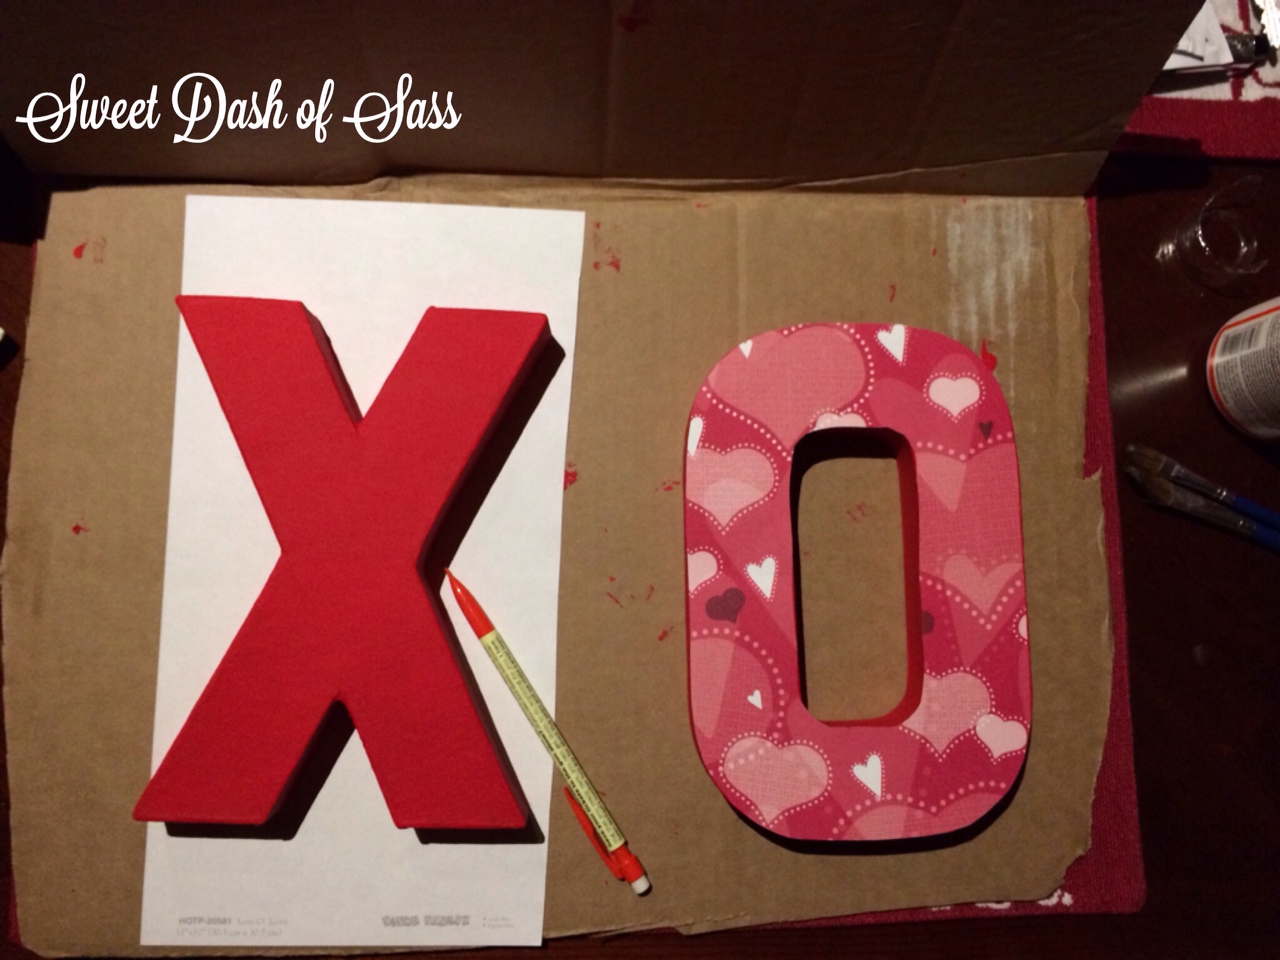
Lay your paper mache letters right side down on the scrapbook paper and trace with a pencil. Repeat this step with each letter.
Cut out your tracing. Repeat this step with each tracing.
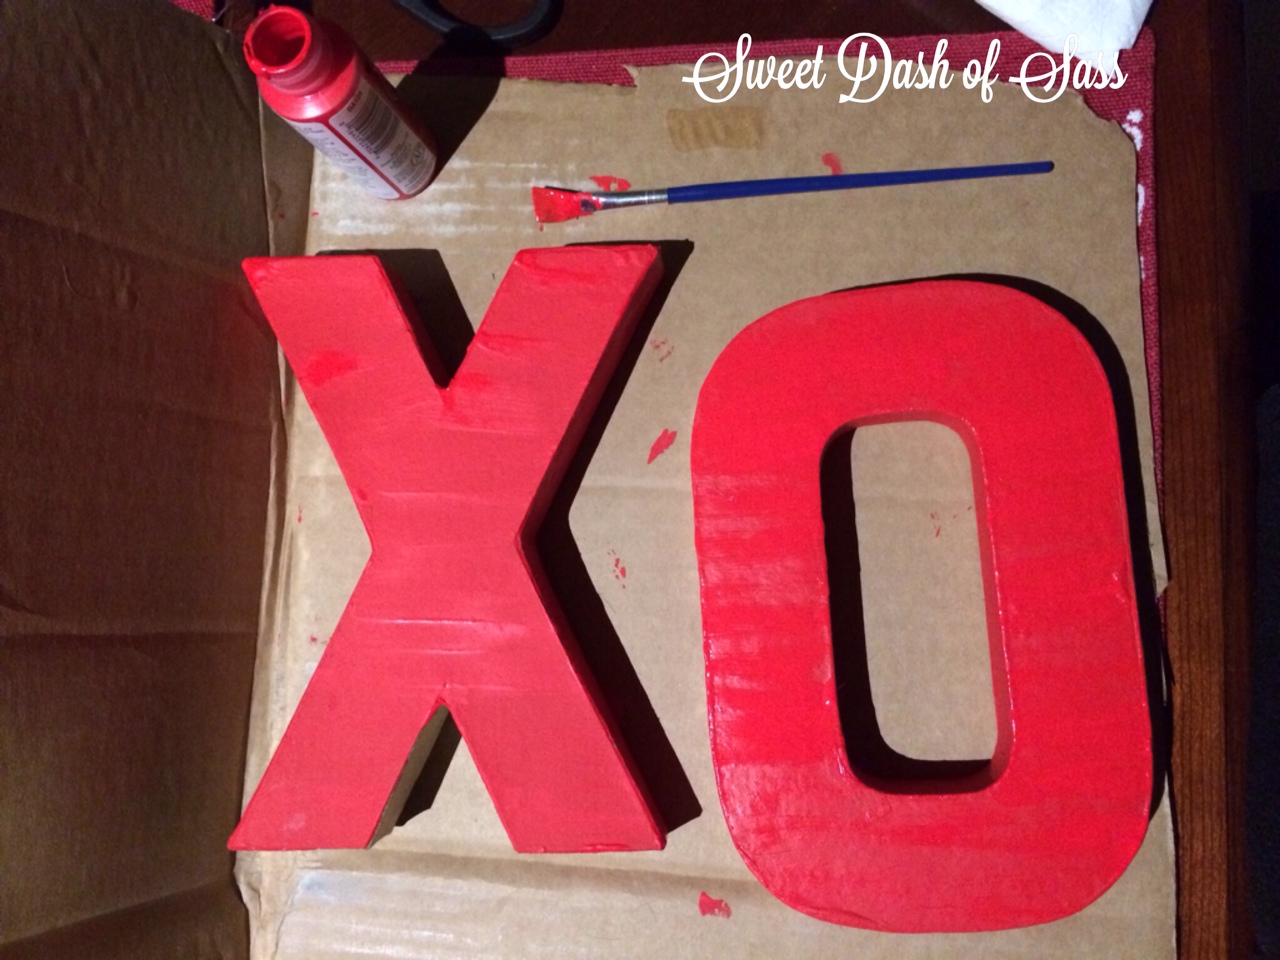
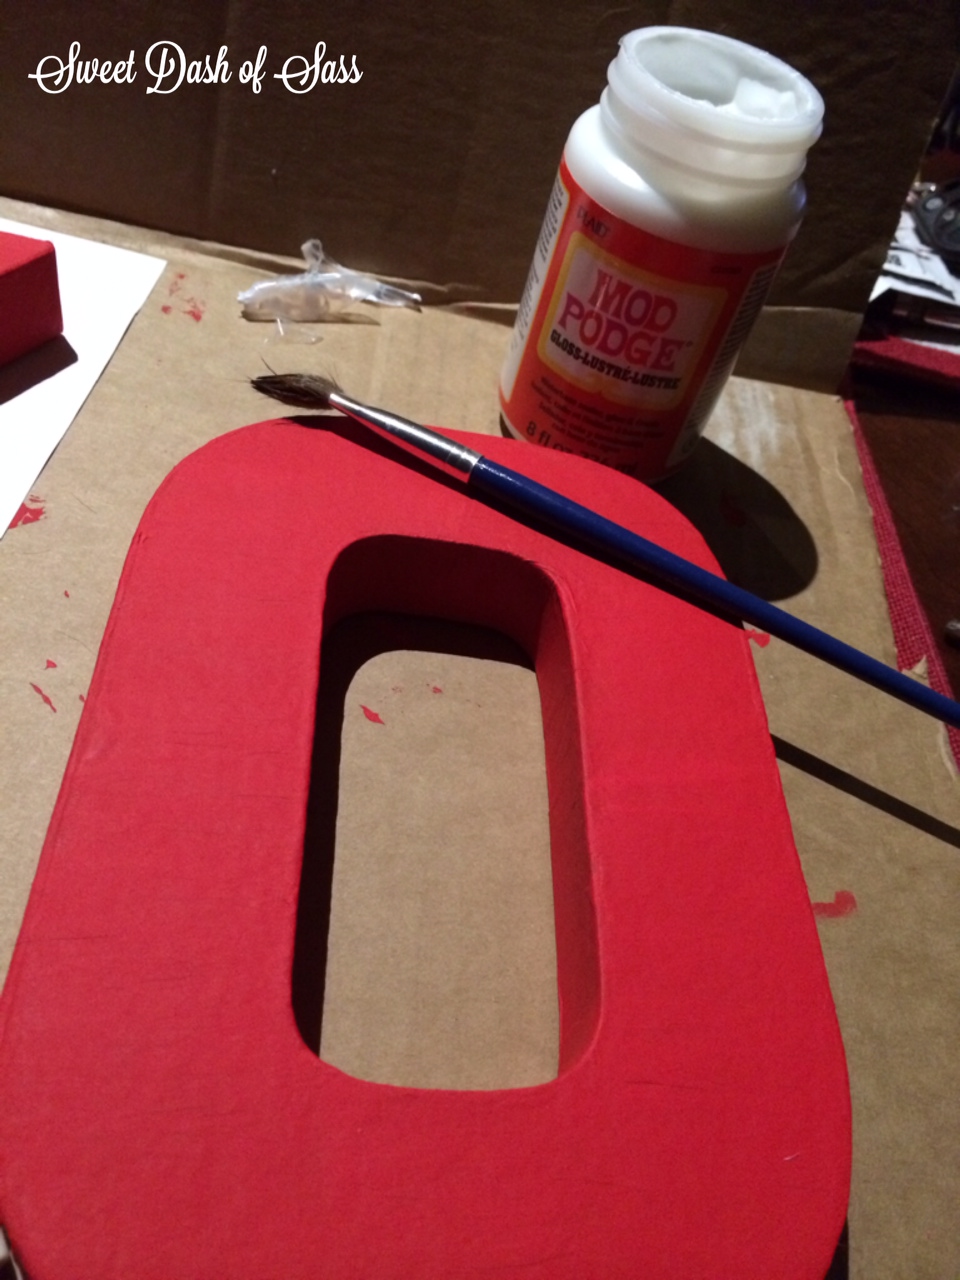
Paint the unfinished paper mache letters in the color of your choosing. Set aside to dry. You may need to do in two batches to paint both sides.
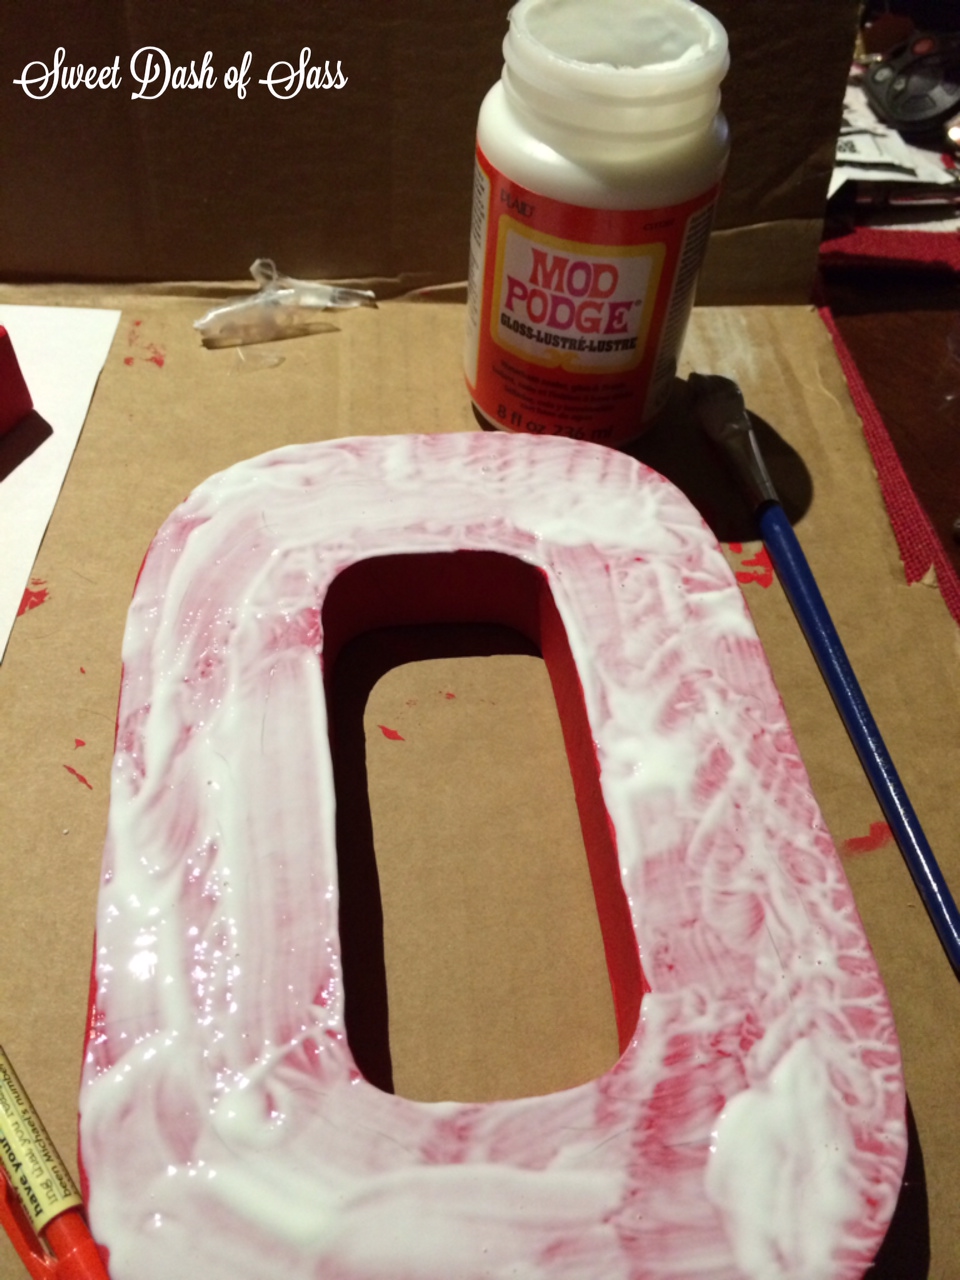
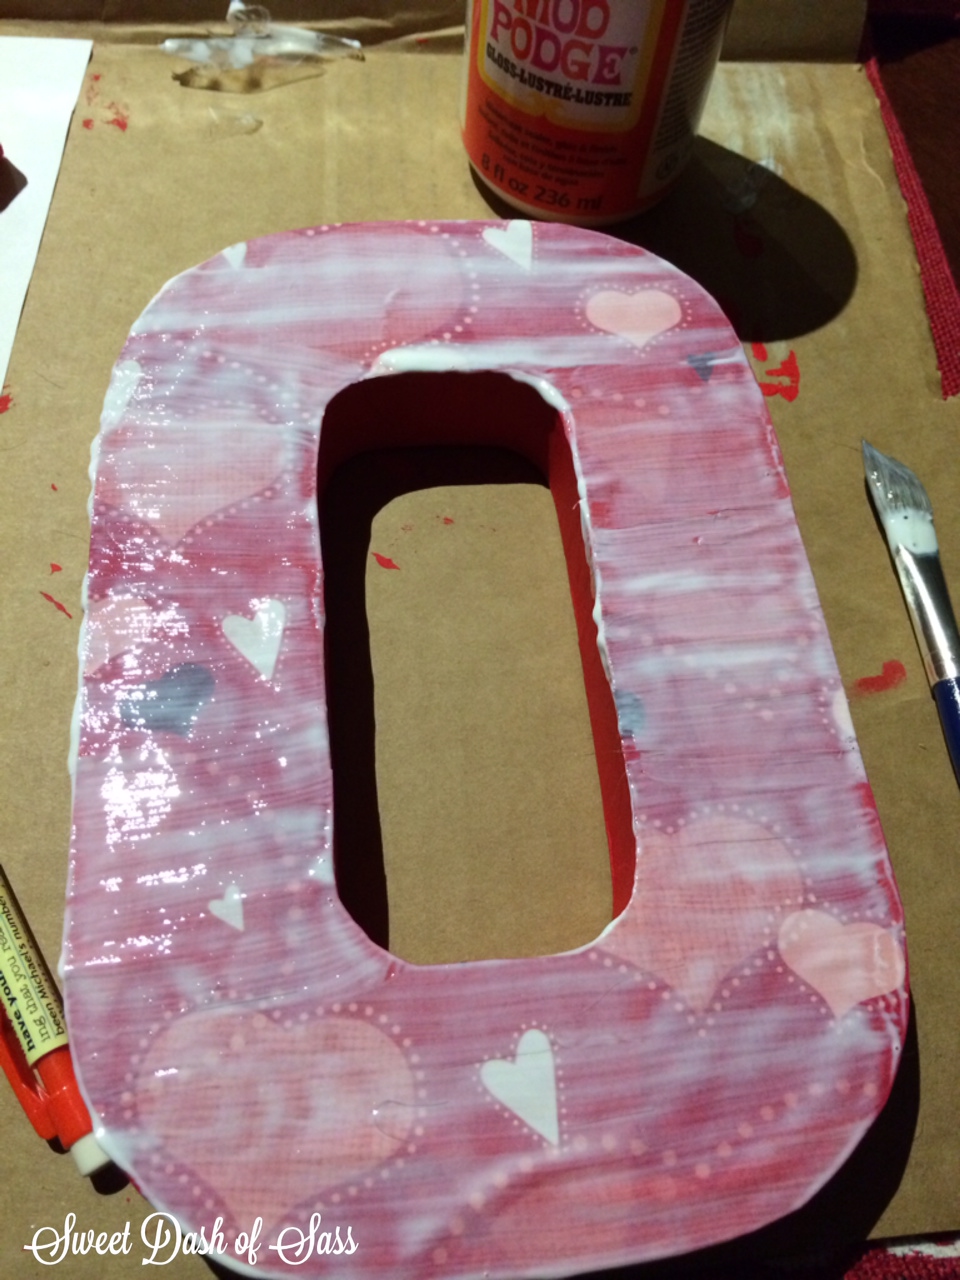
Liberally coat the front of the letter with Mod Podge. Repeat this step with each letter.
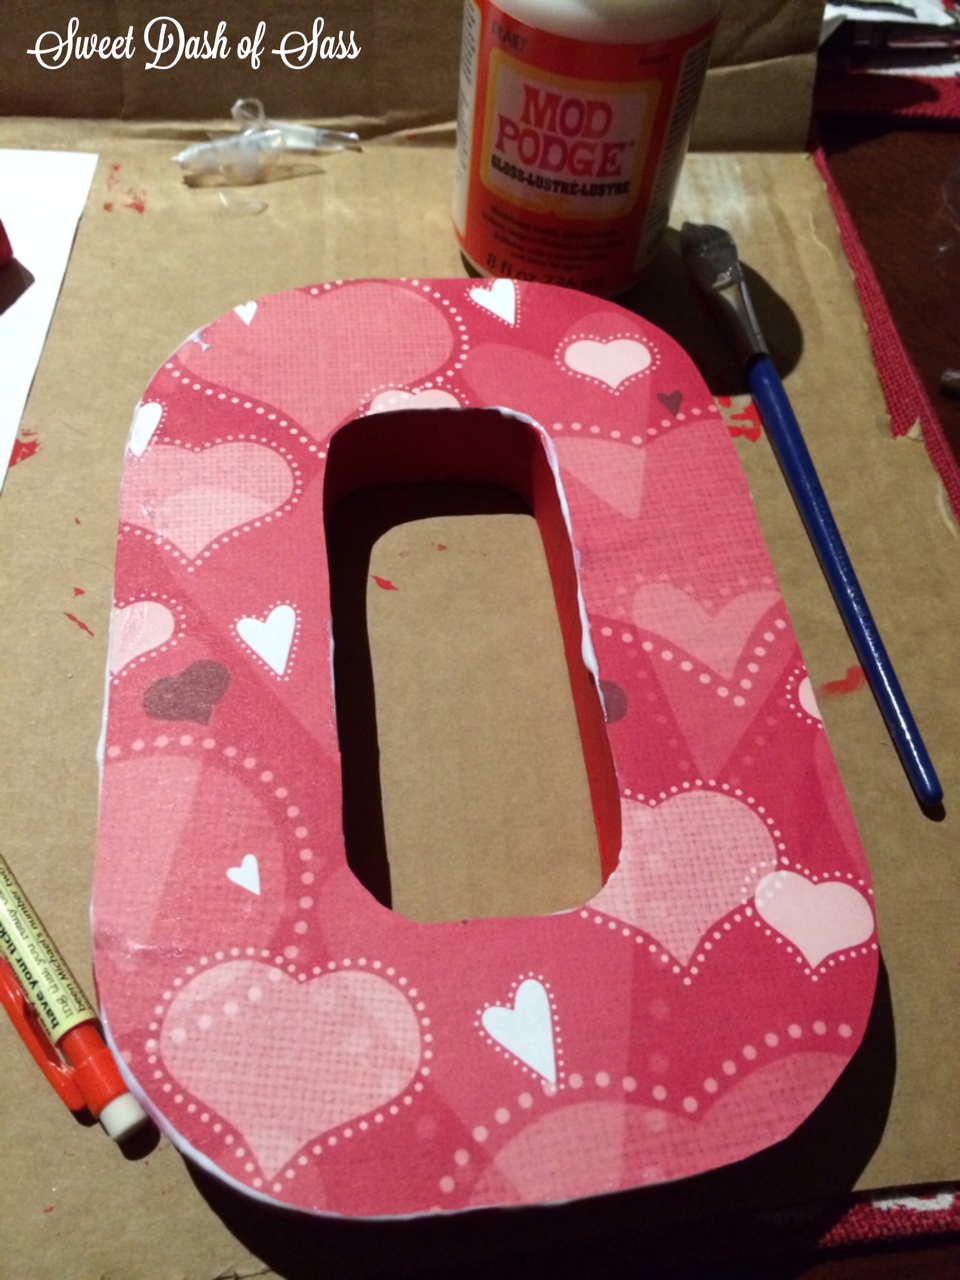
Carefully line up the scrapbook paper tracings to the letter. Lay scrapbook paper down and evenly press to avoid any air bubbles.
Paint a layer of Mod Podge on top/sides of scrapbook paper.
Let letters dry on wax paper. Repeat this step with each letter. Allow 24 hours to dry.
Once dry, you can Mod Podge other side of the letter to give your painted portion that glossy look. Repeat this step with each letter. Allow 24 hours to dry.
Use sand paper to sand the excess paper off the edges of the letters. Sanding the edges gives it a fun distressed look. (Optional)
Apply an additional layer of Mod Podge over the areas that you sand papered.
Tip #1: You can also use Wooden Letters if you can’t find paper mache ones!
